Dash camera · Product Demo
Dash camera · Product Demo. Critical check: lens geometry and mounting orientation. Includes a customizable prompt, production steps and a downloadable brief.
Make it your product.
Replace the example details. Your prompt updates as you type.
Describe the actual product, not a marketing claim.
List visible materials and finishes.
Include the shape, color, and details to preserve.
Describe the surface, background, and lighting context.
Choose a composition for your project.
Your product details stay in this tab. No upload or AI generation takes place here.
Your product prompt
Editable details · EnglishProduct name: Dash camera Materials: smooth molded plastic with a satin finish Color & details: lens opening, camera housing, buttons and mounting point from the reference Background & scene: a parked car interior or a clean tabletop matching the actual mounting reference Aspect ratio: 9:16 Plan a 15-second observable product demonstration in four shots: 0–3 seconds, the complete product at rest; 3–7 seconds, one actual handling action supported by a real reference; 7–12 seconds, the resulting state and the relevant construction detail; 12–15 seconds, a still complete-product closing frame. Keep the same object and viewpoint. If there is no moving mechanism, demonstrate placement or handling rather than inventing one. Use real footage for interactions that cannot be reproduced faithfully. Critical check: lens geometry and mounting orientation.
The 15-second storyboard
Produce each shot separately, then edit.- Shot 100:00–00:03
Dash camera · lens opening, camera housing, buttons and mounting point from the reference. Critical check: lens geometry and mounting orientation.
CameraLocked camera; steady framing.
Voiceover“A closer look.”
What you needPrepare a clear reference of Dash camera, showing lens opening, camera housing, buttons and mounting point from the reference. Use it in your chosen external tool.
- Shot 200:03–00:07
Show one real handling action, keeping all parts and fingers consistent. Dash camera · lens opening, camera housing, buttons and mounting point from the reference.
CameraLocked camera; steady framing.
Voiceover“See the whole design.”
What you needChoose one real handling action and rehearse it with the actual product. Prepare the before and after states and keep all parts accounted for.
- Shot 300:07–00:12
smooth molded plastic with a satin finish · lens opening, camera housing, buttons and mounting point from the reference. Critical check: lens geometry and mounting orientation.
CameraLocked camera; steady framing.
Voiceover“Notice this detail.”
What you needVerify the mechanism against the real product. Check hands, part count and continuity; do not imply measured results without evidence.
- Shot 400:12–00:15
Dash camera · a parked car interior or a clean tabletop matching the actual mounting reference · 9:16.
CameraLocked camera; steady framing.
Voiceover“Explore the product.”
What you needKeep the original product reference and add approved branding only after the visual structure is correct.
Make the shot
- 1
Before you start
Choose one real handling action and rehearse it with the actual product. Prepare the before and after states and keep all parts accounted for.
- 2
Make the shot
Use a fixed camera and one action per shot. Keep fingers clear of the feature; replace unreliable generated interaction with filmed footage.
- 3
Critical check
Preserve the reference construction: lens opening, camera housing, buttons and mounting point from the reference. Critical check: lens geometry and mounting orientation.
- 4
Check before using
Verify the mechanism against the real product. Check hands, part count and continuity; do not imply measured results without evidence.
Check before using
- Preserve the reference construction: lens opening, camera housing, buttons and mounting point from the reference.
- Keep the visible material plausible: smooth molded plastic with a satin finish.
- Critical check: lens geometry and mounting orientation.
- No invented specifications, labels, measured results or additional components.
Template updated
Common adjustments
The construction differs from the reference
Simplify the angle, keep the reference visible and repeat these constraints near the start: lens opening, camera housing, buttons and mounting point from the reference. Recheck lens geometry and mounting orientation.
The material looks artificial
Return to the actual material reference: smooth molded plastic with a satin finish. Reduce exaggerated shine, blur and decorative effects before adding detail.
The framing or identity drifts
Reuse the same reference, remove competing movements and produce one simpler image or shot at a time. Compare each result before assembling the final work.
Planning another product video?
Choose a format and use the separate script generator to draft a 15-second plan.
More product stories to explore
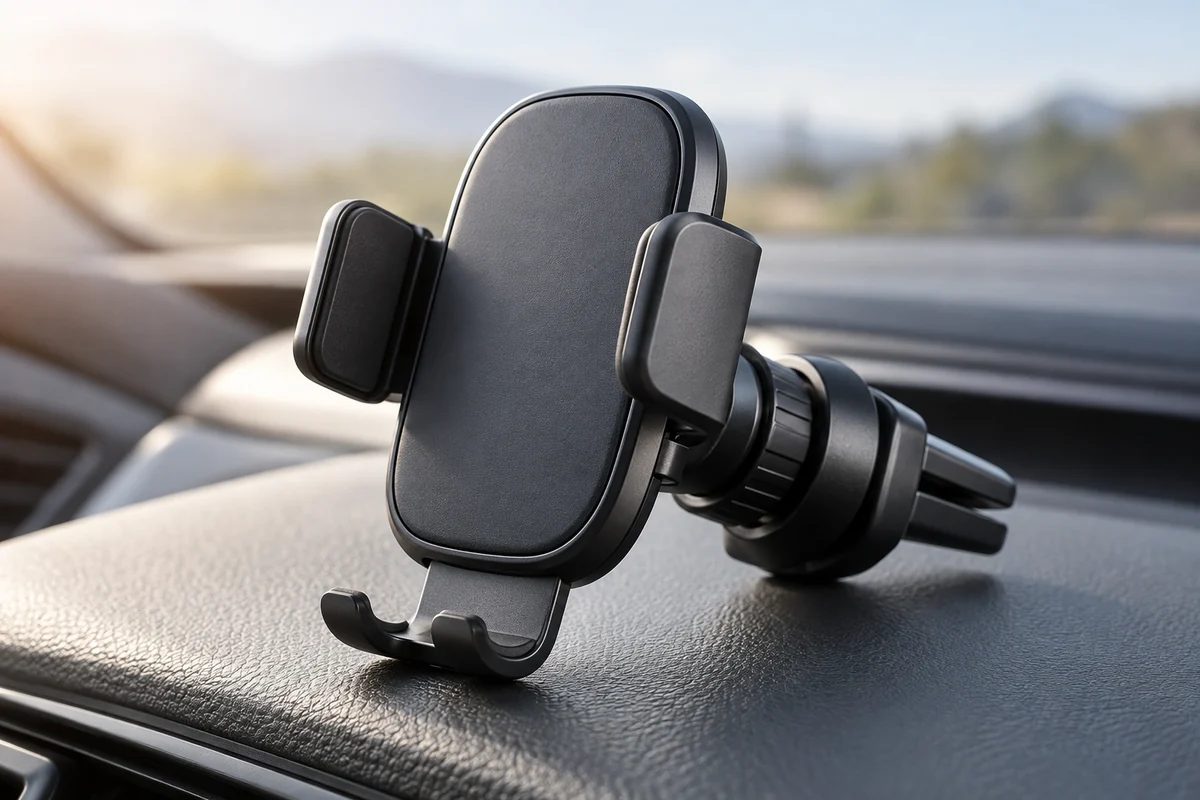
Car vent phone mount · Hero Image
Car vent phone mount · Hero Image. Critical check: clamp opening and joint alignment. Includes a customizable prompt, production steps and a downloadable brief.

Car vent phone mount · Lifestyle Image
Car vent phone mount · Lifestyle Image. Critical check: clamp opening and joint alignment. Includes a customizable prompt, production steps and a downloadable brief.
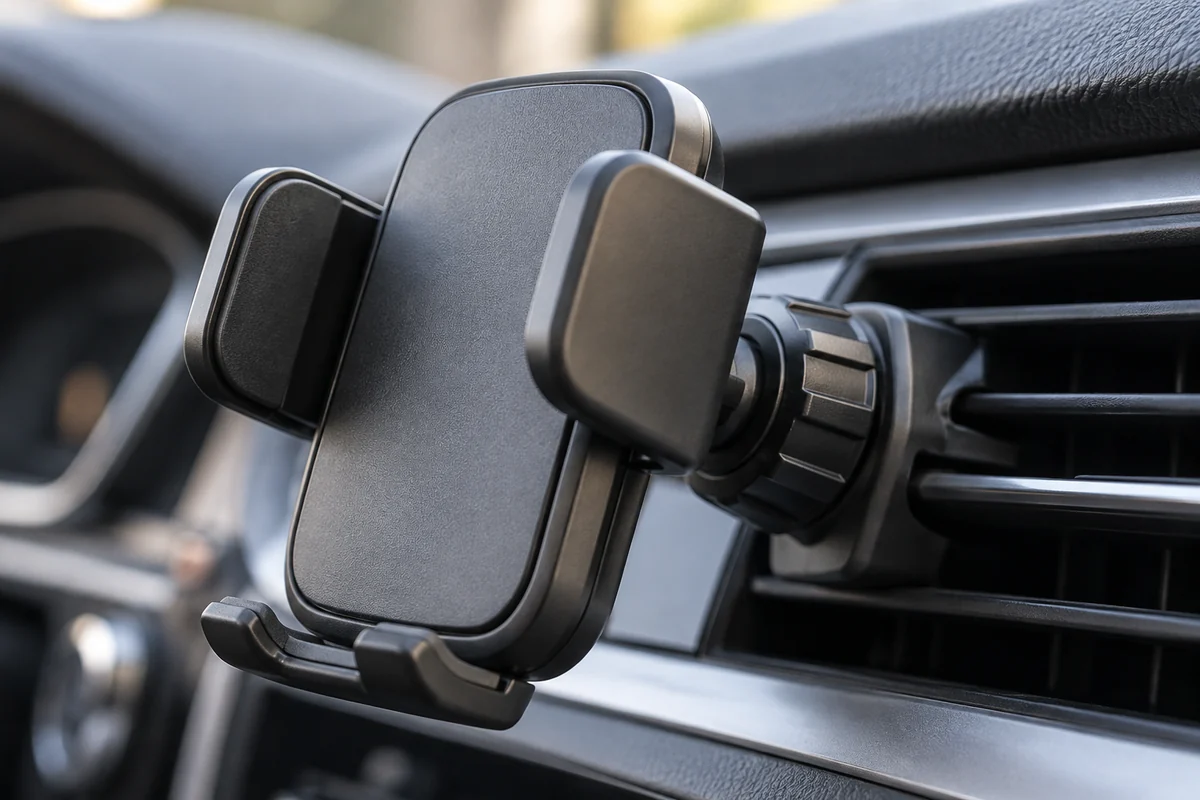
Car vent phone mount · Detail Image
Car vent phone mount · Detail Image. Critical check: clamp opening and joint alignment. Includes a customizable prompt, production steps and a downloadable brief.