Storage Organizer Before-and-After
Plan a 15-second storage demonstration with a matched viewpoint, the same objects, and a readable before-and-after.
Make it your product.
Replace the example details. Your prompt updates as you type.
Describe the actual product, not a marketing claim.
List visible materials and finishes.
Include the shape, color, and details to preserve.
Describe the surface, background, and lighting context.
Choose a composition for your project.
Your product details stay in this tab. No upload or AI generation takes place here.
Your product prompt
Editable details · EnglishPlan a 15-second before-and-after product demonstration for a low three-compartment desk organizer. Material: light natural bamboo with a matte finish. Preserve this construction: a rectangular open tray with three fixed sections and no lid. Set: a pale neutral desk with a notebook, two pens, keys, and small everyday items. Frame for 9:16. Shoot four separate segments from the same fixed elevated viewpoint: 0–3s, the objects loosely arranged before organization; 3–7s, one or two real hand movements putting objects into the organizer; 7–12s, the completed arrangement with every original object still accounted for; 12–15s, a still closing frame. Keep camera position, object count, desk scale, and lighting identical across the before and after. Use an edit rather than magical object morphing. Avoid capacity, time-saving, or sustainability claims that have not been verified.
The 15-second storyboard
Produce each shot separately, then edit.- Shot 100:00–00:03
Before view of the objects on a pale neutral desk with a notebook, two pens, keys, and small everyday items.
CameraFixed elevated viewpoint.
Voiceover“Give everyday things a place.”
What you needAn object inventory and the locked camera position.
- Shot 200:03–00:07
Place two small objects into a low three-compartment desk organizer, made of light natural bamboo with a matte finish.
CameraSame fixed camera; simple real hand movements.
Voiceover“One item at a time.”
What you needReal placement footage or individually checked motion clips.
- Shot 300:07–00:12
After view preserving a rectangular open tray with three fixed sections and no lid and every original object.
CameraHold the matched viewpoint.
Voiceover“Everything, easy to see.”
What you needA matching after frame and the original inventory.
- Shot 400:12–00:15
Still final view of a low three-compartment desk organizer, framed for 9:16.
CameraNo camera movement.
Voiceover“Explore the organizer.”
What you needA clear final frame and approved closing copy.
Make the shot
- 1
Make an object inventory
List the pens, keys, and other items before shooting. Use the same count and shapes in the after image, so the demonstration does not hide objects off-camera.
- 2
Lock the viewpoint
Mark the camera and tray positions. Consistent framing makes a simple cut between states more convincing than an exaggerated transformation effect.
- 3
Show the real arrangement
Film one or two clear placing motions, then hold on the final layout. Check that compartment depth and object sizes are plausible.
Check before using
- Before and after show the same objects in the same environment.
- Objects fit naturally into the tray compartments.
- The presentation does not exaggerate capacity or fabricate a measured result.
Template updated
Common adjustments
Objects disappear during the transition
Replace a morphing transition with a direct cut and compare the before-and-after inventory.
The organizer grows between shots
Reuse the same reference and fixed crop. Show one real placement shot to establish scale.
Planning another product video?
Choose a format and use the separate script generator to draft a 15-second plan.
More product stories to explore
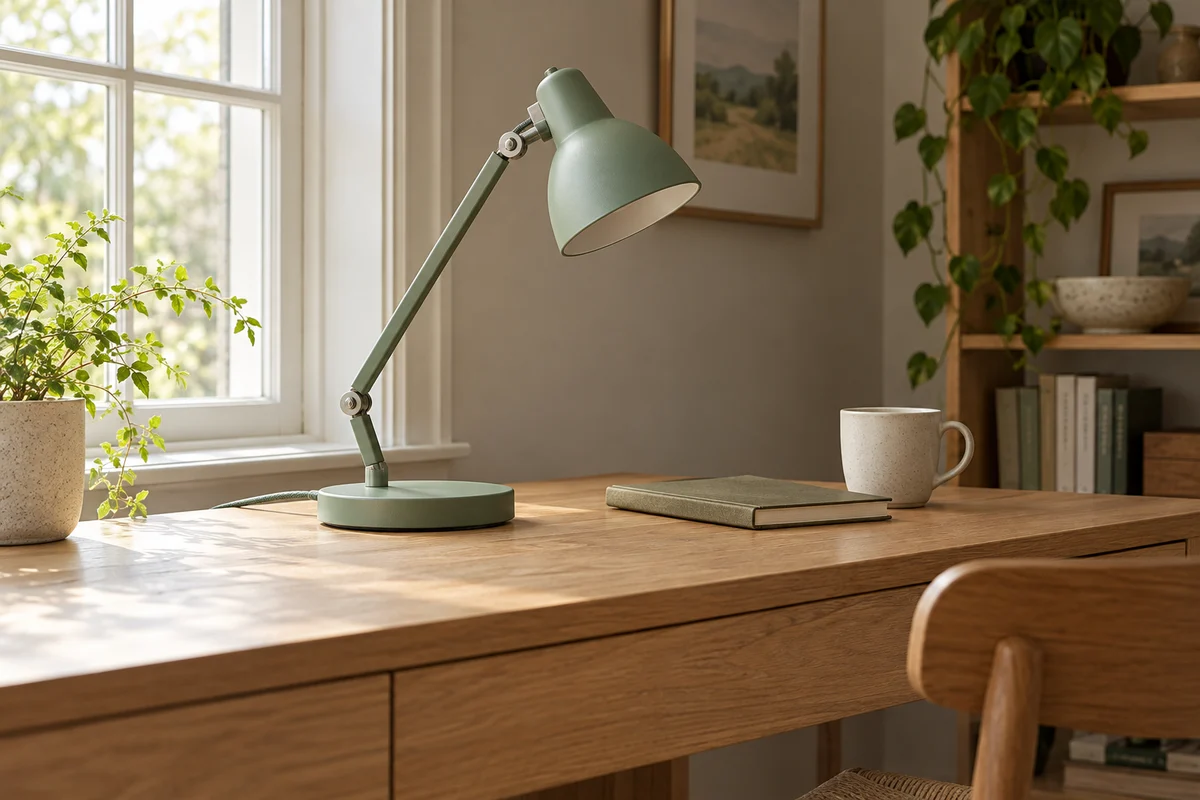
Desk Lamp Lifestyle Photo
Place a desk lamp in a useful everyday setting, with coherent lighting and realistic furniture proportions.
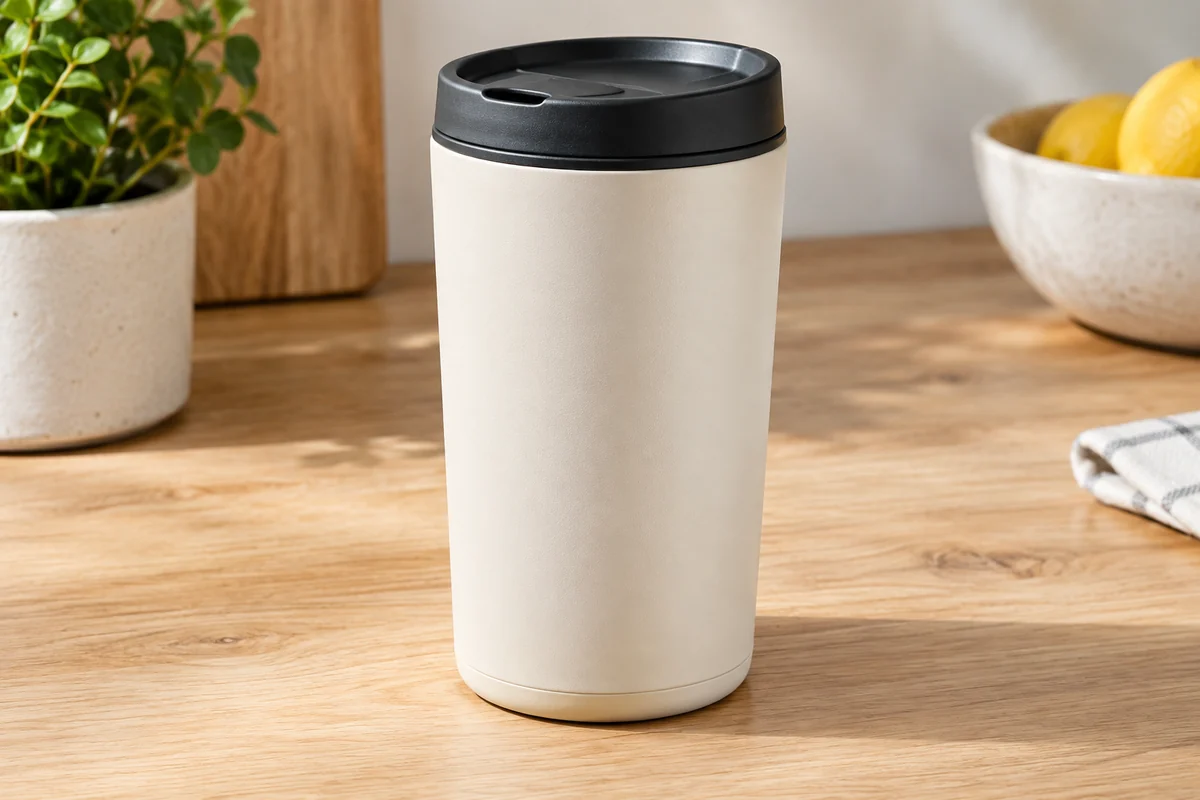
Travel Mug Product Demo
Show the lid, opening action, and everyday use of a travel mug in a clear 15-second sequence.
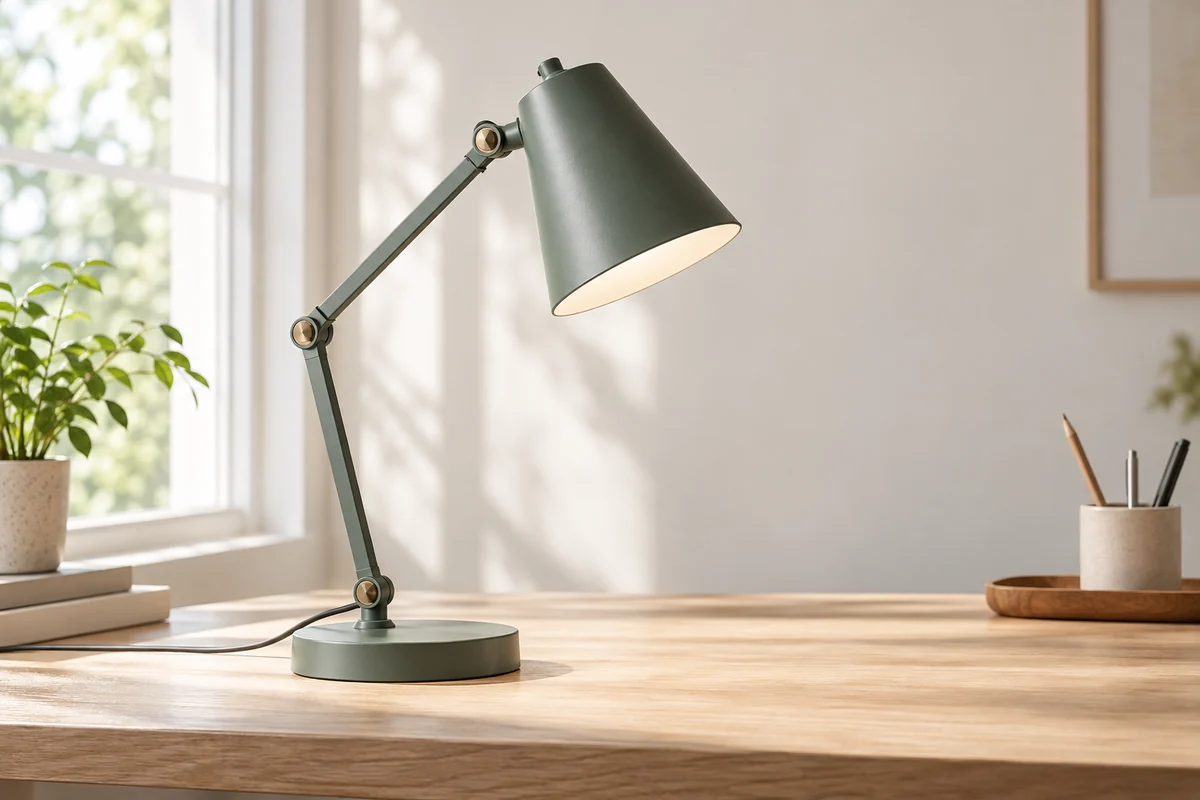
Desk lamp · Hero Image
Desk lamp · Hero Image. Critical check: arm joints. Includes a customizable prompt, production steps and a downloadable brief.